For Honor, Scars

We recently wrote in depth about our last production, a living map made in WebGL for Ubisoft: Ghost Recon. Much to our surprise, it’s had around 4k reads (thank you!) so we decided to go deep again on our latest work, For Honor: Scars. Brace yourselves…
In February 2017, Ubisoft launched a new franchise called For Honor: a competitive third-person melee fighting game mixing speed, strategy and team play with visceral close range combat in multiplayer action. For the launch, we teamed up with our friends at DDB to create an interactive story where you inhabit the life of one warrior from each faction.
Storytelling
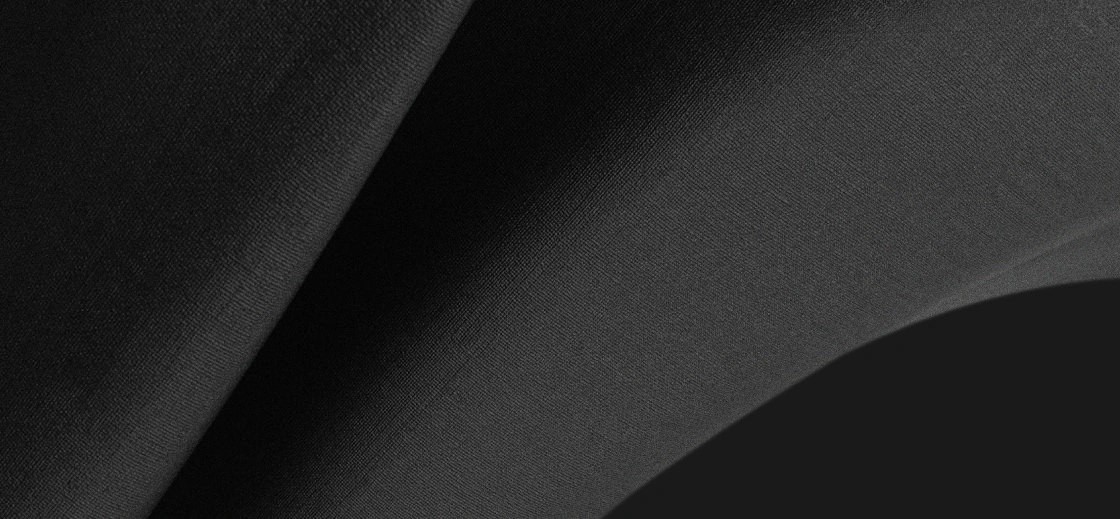
At the heart of this production was a very strong desire to align the digital experience with the cinematic story of the game. In For Honor, the combat is everything. An Art: highly skilled, raw and visceral. So we brought the fight into full focus by making the battle itself the means to drive the narrative. Once we’d decided on this as the user journey, our main aim was to magnify emotion through filmic and haptic effects. It quickly felt obvious that the best way to do this was to hand the camera to the user so, as in the game, they have full control of the fight. And so, with their scroll the user can navigate along the weapon of a warrior and see all the scars that represent a moment of the warrior’s life. They can pan around and punch in the camera for a close up look at the weapons and armour, go backwards and forwards in the timeline of the fight and replay any moment as desired. We even made mobiles shake when weapons clash. Neat huh.
Sound Design
We always try to make people feel something when they encounter our work, so stimulating all the senses, hearing included, is a given. To enhance the sensation of feeling on Scars we used series of audio effects: reverberation, playing speed and audio filters in addition to NanoGL’s advanced rendering. We pushed the WebAudio API to its maximum capabilities to enhance the impression of the physical realm. Afterall, it’s one thing to emit sound in these kinds of experiences, but another thing entirely to create assets authentic enough not to be noticeable.
We called our friends from Press Play On Tape (http://pressplayontape.fr/), whom, in addition to a perfect control of audio and sound production know the technical limits and possibilities in digital technologies, and we recorded every single sound of this experience from scratch in the studio for maximum control of the composition.
From the music and ambient noise to the sound of heavy armor moving over muscled limbs, the clash of weapons and even the UI sounds to indicate the tense and direction of the narrative — all were all custom made for each of our champions to make the event come alive and maximise immersion in the scene.
We also wanted to make the most of the stereo and binaural audio to create that sensation for the user that she is right in the center of the action. A single track wouldn’t do for this, we had to create separate sounds and set each to play it where it should be relative to a 3D space. But, while binaural is awesome for recreating the notion of sound space in 3D, it is unfortunately too greedy to run in real time in addition to the WebGL so we used it sparingly, only on background music, both for the introduction and the ambient score for each warrior.
“Each time the weapons clash, depending on the speed at which the user is scrolling we play a different audio file. We have 4 different files in all — one for each bass”
“The duration of a warrior’s soundtrack is 4 times greater than the nominal speed of the animation of the warrior himself”
The movement sounds of the warriors are played as the scroll progresses and to do this, we stretched the sound to eight times slower than its nominal speed. Then thanks to the WebAudio API, we could manipulate the playing speed according to the scroll speed. Unfortunately we found slowing down or accelerating the playback of a sound file causes unpleasant sound artifacts. After several tests, we were able to define an average speed of use, thus minimizing the risk of artifacts. It is also impossible to play an audio file in reverse, so for backwards scrolling we had to create a specific sound file to give the impression of reverse playback of the normal scroll.
To create the reverb effects (an audible effect that is heard when a sound interacts with it’s environment) we used to auralization technique which is commonly an association of our sound with an impulse sound, called impulse responses (IRs). An impulse sound is simply a parasite sound, a noise sound. You can find and listen to open source IRs directly on OpenAirlib website.
Motion Capture
We were given the warrior character models thanks to Ubisoft, which really drove expectations and aspirations in terms of the quality of the final result. Getting the actual game assets is extraordinary as it allows us to craft an authentic experience for the fans.
In theory, animating characters is not so complicated, but the complexity of a successful animation comes from the realism of the movements. To make sure that each movement looks as natural as possible, we had to take into account the constraints of the character when animating him, such as his clothes, his physique, his accessories …
Our quality reference throughout was the talent of Post23. We had to reach that level of quality, it was not an option for us. Thankfully we were able to exploit the motion capture to design the movement of the characters and complete the choreography of Scars.

Our goal was to convincingly choreograph a Mexican standoff. A Mexican standoff is a scene of tension between 3 (or more) characters, introduced to popular culture in films such as The Good the Bad and the Ugly. We added support for GPU bones animation in NanoGL starting with the files sent by Post23 in a classical format, the FBX. As NanoGL uses a custom AWD file format for 3D objects we had to perform some conversions on the FBX file. The AWD format is a compact binary format, perfect for the web, but the data structure of the bones animations need, when parsed, to create a lot of nested JS objects.
Standard AWD skeleton animation structure:
AWD :
   SkeletonAnimations[n]
      - frames[n] :
         - pose :
            - transforms[numbones]
               mat (Float32Array[16])
      - duration : number
In this project, we have too many skeletons, bones and a lot of frames. Each AWD file weighed almost 10Mo, so once it was parsed it used 350Mo of RAM, which is a lot!. The parsing time is also way too long with this kind of file size and generates a lot of lag in the experience.
AWD workflow to the rescue:
FBX -[fbx2awd]-> AWD std -[awd-js]-> AWD extended
And thankfully NanoGL has a few built-in tools to optimize the AWD format:
- geometry’s buffers are merged into a single interlaced one
- useless attributes are removed from buffers (depending on material applied)
- some attributes are compressed (from float32 to short or byte)
You can use NanoGL in a node environment or in the browser. It’s easy to extend the AWD format to integrate the optimization script in any node workflow. The created extensions are all directly usable in the browser as it is the same codebase.
To encode the skeleton animation, we created a new structure:
Compact skeleton animation structure:
AWD :
   SkeletonAnimations[n]
      - numframes
      - numbones
      - padding (force data field to be aligned on 4 bytes)
      - data : Float32Array[numframes*numbones*7]
Each SkeletonAnimation is encoded in a unique Float32Array, containing a position and an inlined quaternion (7 float) for each bone and each frame.
The data field is reduced and we can create a Float32Array directly from the loaded AWD ArrayBuffer. As a result, we have close to zero parsing time and a low weight in RAM for the models and animation. BOOM.
Script example to optimize AWD
Weapon collision
First, in the models, we define the position of the blades of the weapons. From these positions we can detect the parameters of the collisions and frictions between them. The two parameters we use are: the violent deceleration of the point of contact, which will give us information about the force of the shock and the movement of the point of contact with respect to the blade; this in turn gives us information about friction and direction. Combined, these elements make it possible to generate a cloud of particles coherent with the shock between the weapons as the animation progresses.

In order to make the sparks on the screen, the path/movement of each particle is used to build a ribbon. In addition to a 3D position, each vertex encodes the time at which the particle passes to that position. This time information can be accessed for each pixel of the ribbon and used to simulate the motion of a spark along the ribbon.


The particle simulation and the generation of ribbons in the browser allows us to parameterize in real-time and to obtain the desired effect quickly.

Ultimately, only the geometry of the ribbons is necessary to display the final animation of the sparks. In order to avoid re-calculating the contact simulations between the clients side weapons, the geometries are exported to a static file used in production.
NanoGL PBR
The assets we got from Ubisoft (static models + PBR textures) from the game were calibrated for their 3D engine, AnvilNext. Unfortunately all these assets were not exploitable. We were able to exploit the meshes without simplification, but we had to redo the skinning and adapt NanoGL to the PBR metalness workflow.

Without optimum and realistic lighting, it is difficult to obtain high quality PBR. To do this, we have developed an NanoGL-specific Image Based Lighting (IBL) based on HDR environment maps :
We extract the spherical harmonics, which gives us the diffuse lighting information of the environment. For a given direction we obtain the medium illumination of the hemisphere pointed by the surface. This method replaces the use of an irradiance cubemap. It has the advantage of allowing the calculation of “per-vertex” irradiance when the texture is not available in vertex shaders, (especially mobile). In our case, this calculation is done by vertex or by fragment depending on the quality parameters of the application.

We then need to pre-calculate the different levels of gloss for rendering materials. For this, a blinn-phong BRDF (Bidirectional Reflectance Distribution Function) is pre-calculated for 8 different brightness levels. We therefore get 8 maps of a 360 ° environment that are gradually more blurry. We then re-map these environment maps in an octahedral sided format that suits NanoGL PBR.

Thanks to this optimization we can put all 8 maps of environment on a single texture and this texture is subsequently encoded into a PNG file in RGBE format.
For the given gloss level of a pixel, the shader samples the corresponding version of the environment texture to get the amount of reflected light. Again, to improve performance, we have the ability to sample the closest gloss level instead of performing a linear interpolation between the two closest gloss levels.
Conclusion
We have been challenged, excited, frustrated and ultimately overjoyed by this production with DDB and Ubisoft for the launch of the new franchise of For Honor. Even if we can’t share details about the results of this operation, as with Ghost Recon: Wildlands it has been a huge success, exceeding our hopes in terms of KPIs and in terms of awards as it the first time we have won SOTM simultaneously for FWA, AWWWARDS and CSSDesignAwards.

We hope you enjoyed reading this, please hit the heart if you did. And if you haven’t seen the website yet, check it out here: https://scars.forhonorgame.com.